How to Plan a Sweet 16 Photo Booth Experience
Planning a sweet 16 celebration comes with its own set of priorities. You want the night to feel special, memorable, and fun for everyone who attends. One element that can elevate the entire event is the photo booth. It gives guests a reason to laugh, strike a pose, and walk away with something tangible. But to get the most out of it, you need a clear plan. This checklist covers the key decisions you will face, from timing to design to sharing the photos after the party.
Start with the right timing for the booth
The photo booth should not compete with other activities. If you place it near the dance floor or the buffet, guests may crowd it at the wrong moments. Think about the flow of your reception timeline. Typically, the booth works best after formal portraits and the first dance, when people are ready to relax. You want it open during the time when guests are mingling, not during a sit-down meal or a planned performance. A two-hour window in the middle of the event often hits the sweet spot. If the booth stays open too long, the novelty wears off. If it closes too early, late arrivals miss out. Check with your event coordinator or venue manager to find a natural gap in the schedule.
Choose a backdrop and props that match the theme
A generic backdrop can feel flat. Your sweet 16 theme might be glam, tropical, vintage, or minimalist. The photo booth should reflect that. Look for backdrops that complement the colors and style you have already chosen for the room. Sequin curtains, floral walls, or geometric panels all work well. Props matter just as much. Funny hats, oversized glasses, and themed signs encourage guest participation. People who might feel shy about posing often warm up when they can hide behind a silly prop. Keep the props clean and in good condition. Nothing kills the mood like a broken mustache on a stick.
Decide on print layout and custom overlay
Every photo strip tells a story. The print layout determines how many images fit on one strip, whether they stack vertically or horizontally, and what background frames them. A custom overlay adds your event name, date, or a short message. This turns a simple photo into a souvenir. When you design the overlay, keep it simple. Too much text or clutter can distract from the faces. Stick to one or two colors that match your palette. The overlay should also leave room for the images themselves. Test a sample before the event to see how the layout reads in real life. Make sure the font is legible at a small size.
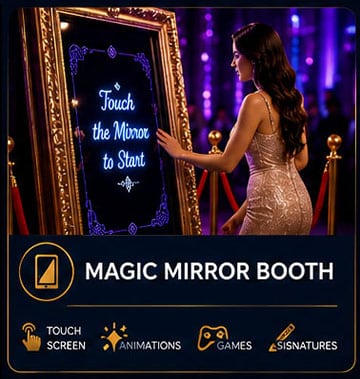
Beyond the standard strip, some booths offer larger keepsake prints. These can include a full-page photo with a border that carries your theme. Decide early how many prints each guest can take. Unlimited prints are generous but can lead to long lines. A limit of two or three per group keeps the line moving and ensures everyone gets a turn. You can always order extra prints afterward if you want to send thank-you notes with a photo attached.
Plan for digital sharing and a guest book
Not every guest wants a physical print. Many prefer to share photos on social media or save them to their phone. Check whether the booth offers digital sharing options. Some systems let guests text or email the images to themselves right after the shoot. Others display a QR code that opens a gallery. This works well for teens who want to post on their accounts during the party. At the same time, consider a guest book. This is a physical book where guests paste one copy of their photo strip and write a note. It becomes a keepsake you can look at for years. Place the guest book near the booth exit so people remember to fill it out before they walk away. Provide pens that actually work and a few examples to show what you expect.
Digital sharing and the guest book are not competing features. They serve different purposes. The digital copies spread the fun online, while the guest book captures handwritten messages that feel personal. Both add value, and most modern booths can handle both without extra cost.
Think about the booth location and lighting
Location inside the venue matters more than you might guess. The booth needs enough space for a small queue, a clear area in front of the camera, and room for groups to arrange themselves. Avoid placing it in a hallway or near a door where people walk through constantly. The background noise and foot traffic will distract everyone. Lighting is another factor. Booth cameras often use built-in flash or LED rings, but ambient light can still affect the results. If the booth sits under a dim chandelier, the flash might wash out faces. If it sits under bright track lighting, the shadows can be harsh. Test the spot at the same time of day as your event. Ask the booth provider if they can adjust the lighting or bring extra equipment.
You also need to think about power. The booth needs an outlet within reach. Extension cords are fine, but tape them down to prevent tripping. If the venue has strict rules about cords, check with them before the event. A quick conversation with the venue manager can save you a last-minute scramble.
Define the role of an attendant
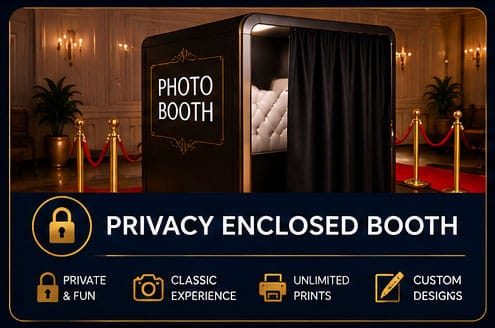
A staffed booth makes a difference. An attendant can reset the props, help guests who are unsure how to pose, and fix minor technical issues on the spot. They also keep the line organized and remind people to grab their prints. Without an attendant, guests may leave the booth messy or walk away without taking their photo. The attendant is not a party crasher. They are there to make the experience smoother. If the booth is part of a rental package, ask what the attendant covers. Some providers include setup, breakdown, and a set number of hours. Others charge extra for an attendant. Decide what level of support your event needs based on the number of guests and the complexity of the booth setup.
Prepare for guest participation and group shots
Some guests will jump in front of the camera without hesitation. Others will need a nudge. A simple sign near the booth that says "strike a pose" or "grab a prop" can help. You can also assign a friend or family member to stand near the booth and cheer people on. Group shots are popular at sweet 16 parties because friends want to be in the picture together. Make sure the booth can accommodate groups of four to six people. The backdrop should be wide enough, and the camera should capture everyone without cutting off heads. If the booth limits group size, note that in advance so guests know to take turns.
Formal portraits earlier in the day can feel stiff. The photo booth offers a relaxed alternative. Guests can be silly, make faces, and hold up signs that say funny things. That contrast is part of the appeal. Encourage everyone to participate, including adults. Parents and grandparents often enjoy the booth as much as the teenagers do.
Create a system for personalized keepsakes for guests
Each guest should leave with a physical reminder of the night. Whether it is a photo strip, a magnet, or a small print, the keepsake matters. When you plan the booth, think about how many prints you will need. Estimate based on your guest count, but add a buffer for groups that take multiple shots. Some providers include a certain number of prints in the rental fee. Others charge per print. Know the policy before you sign anything. You can also offer a digital download code on the print itself so guests can order reprints later. This is especially useful for group shots where everyone wants a copy.
Personalized keepsakes for guests do not have to be complicated. A simple strip with the event date and a fun background is enough. The key is that the keepsake feels connected to the celebration. When guests look at the photo years later, they will remember the night, the people, and the joy. That is the real value of a photo booth.
Review the contract and test the equipment
Before you finalize the booking, read the rental agreement carefully. Check the hours of service, the number of prints included, the quality of the camera, and the backup plan if something breaks. Some providers offer a second camera or a spare printer. Ask about that. Also confirm the setup and breakdown times. You do not want the booth to arrive during the ceremony or to be taken down before the party ends. If possible, test the booth before the event. Take a few sample photos in different lighting conditions. Check the print quality. Make sure the overlay looks right. A quick test can catch problems that a phone conversation would miss.
One more thing: talk to the provider about their policy on custom overlays. Some require the design to be submitted a week in advance. Others can create one on the spot. If you are designing the overlay yourself, ask for the file specs. A low-resolution image will look blurry when printed. High-resolution files with the right color profile produce the best results.
Wrap up with a clear plan for photo distribution
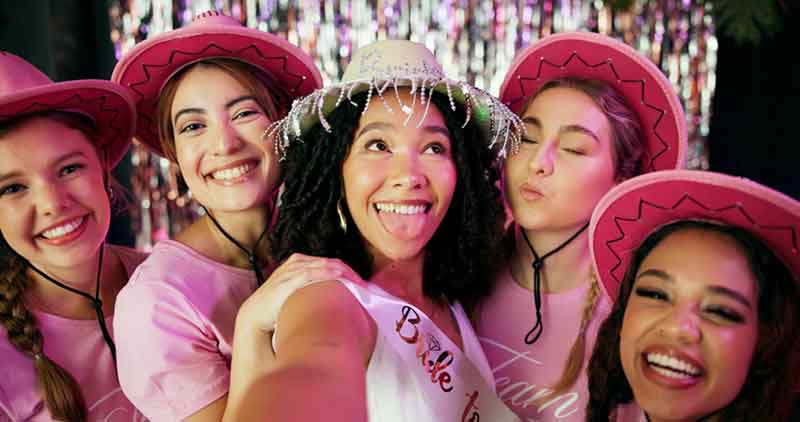
After the event, you will have a collection of digital images from the booth. Decide how to share them. Some couples post a gallery on a private website and send the link to guests. Others create a shared album on a cloud service. If you plan to use the photos for a thank-you card or a social media post, get permission from the people in the shots. Not everyone wants their face online. A simple note on the booth sign that says "photos may be shared on social media" gives guests a heads-up. Respect the people who opt out.
The photo booth is more than a fun activity. It is a way to capture the energy of the night and give guests a tangible memory. With a little planning, it can become one of the most talked-about parts of the celebration. Use this checklist to guide your decisions, and you will end up with a booth experience that feels effortless and intentional.